Friday, April 25, 2014

18 drawings

All my 18 drawings, 3 for each project we did:


The first three are for the paper sculptures.


These next three are for the memento project.


This set is for the 3D tape shoes.


The three above are for the short story project.


This set is for the soap carving project.


The last set is for the human body project.

3D to 2D assignment

     I combined my projects using photoshop and made some sort of a collage. My human body project is on the left side and it is as if it's controlling the whole chaos that's happening in the background. I made it look very ghost like so it has a creepy feel to it. The volcano is erupting and items are coming out of it going from farther away to closer. The items closer to the ghost like figure look like a horse shape figure in the clouds. All my projects this semester portrayed a since of chaos and challenge. The challenge here is too survive the storm of the erupting volcano.
     I used the memento project, the human body project, the short story, and the paper sculptures. I also used the tape shoes and a bit of the soap caving. I combined them all together to make a ghostly eruption.

Tuesday, April 22, 2014

Response: A Natural History of the Senses

       Diane Ackerman is the author of this book called A Natural History of the Senses which is about coming to your senses. Humans have five senses, hearing, taste, smell, feel, and sight. It has the beauty of the art and the intuition in like an imaginary realm. She shows the reality of what we are really sensing. I like how Diane uses the scientific terms and things to back up what she is writing. Science is based of facts so that's how the book comes into place.
        We need to return to feeling the textures of art - Diane Ackerman. This sentence she wrote in her introduction is meaningful because people don't seem to really pay attention to the sense of art in the world and how beautiful it is. Humans will typically rely on instinct and just go about living, but to really live is to "see" the creativeness in the world and get a sense of the natural ways of it.

Sunday, April 20, 2014

Human body project: photos


Here are in-progress photos of my human body project and how it looks without a person wearing it.


These are my final images for my project. I may go outside but if there is bad weather then this is it. I went on photoshop to change the lighting of each photo and changed the saturation. I used my katana (sword) as a prop for my paper project. The whole thing is made out of paper and then I changed the color to black by using spray paint.
My first inspiration was from a villain from spiderman called Venom and then I made a kung fu stance to make it mysterious and like a ninja. Ninja's cover most of themselves with black but you could probably see what there legs are doing. In one of the pictures I have the claw which I have in my right hand. The rest of the photos I didn't want it because it didn't look right in the way I wanted it to be. My ninja stance is a "ready to fight" stance showing no mercy waiting for the opponent. I sprayed it black because it gave it more contrast and darkness of a ninja. 
If I were to go outside then I would blend myself with the dirt in the ground as if I was connected with the earth. And in martial arts when you make stances, you need to feel connected with the earth, very sturdy and unmovable. 
Overall I think it turned out great, and I was purposely hiding my face. I made sure there was a form of balance and refinement. I hardly used wire and mostly made strips out of paper. I only used the wire to hold the top part on the inside to make a hat so it would stay on my head and used wire for the paper claw.

Tuesday, March 25, 2014

Ideas: Human Body project

My inspirations and ideas for the human body project:

  1. The ocean and sea life, Jelly fish, coral, and sea stars, waves
  2. Tai Chi movement and kung fu
  3. Chinese culture
  4. Marvel shows like spiderman, the hulk, and X-Men
  5. The bad guys in Spiderman (the Sandman, Venom, Green Goblin)
  6. Mimes 
  7. Hispanic culture

    (my top three choices are in bold)

Sunday, March 23, 2014

Soap carving finish and changes


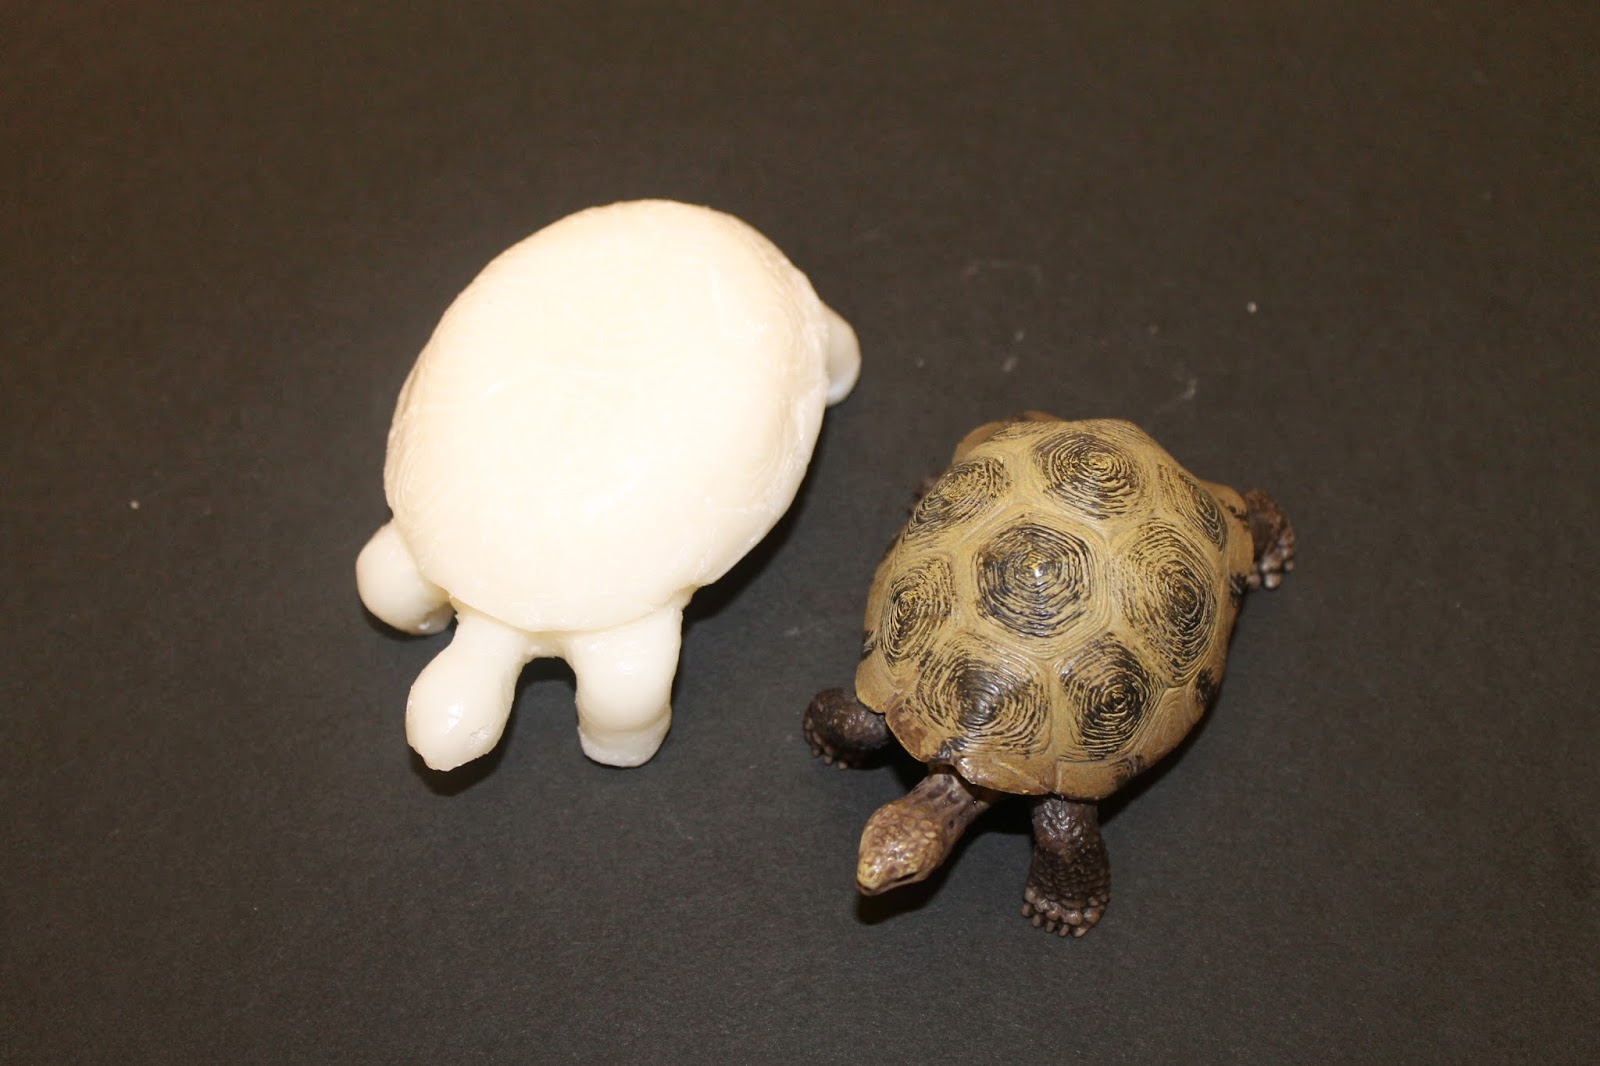
Here is the finished soap carvings of both turtles. I set them all up in a triangle like formation.

1st change: I put the soap turtle on the stove and cooked it with oil on medium temperature for 8 min.

2nd change: I placed the soap turtle in the microwave for 25 seconds and at this point it looked and felt like a fat marsh-mellow.

3rd change: I cut the soap with an apple cutter but it didn't cut all the way through.

4th change: I added a candle to the messy piece and added the savings on top because it ended up to be kind of flat.

5th change: I added pink paint to the piece because it looked like a cake to me.

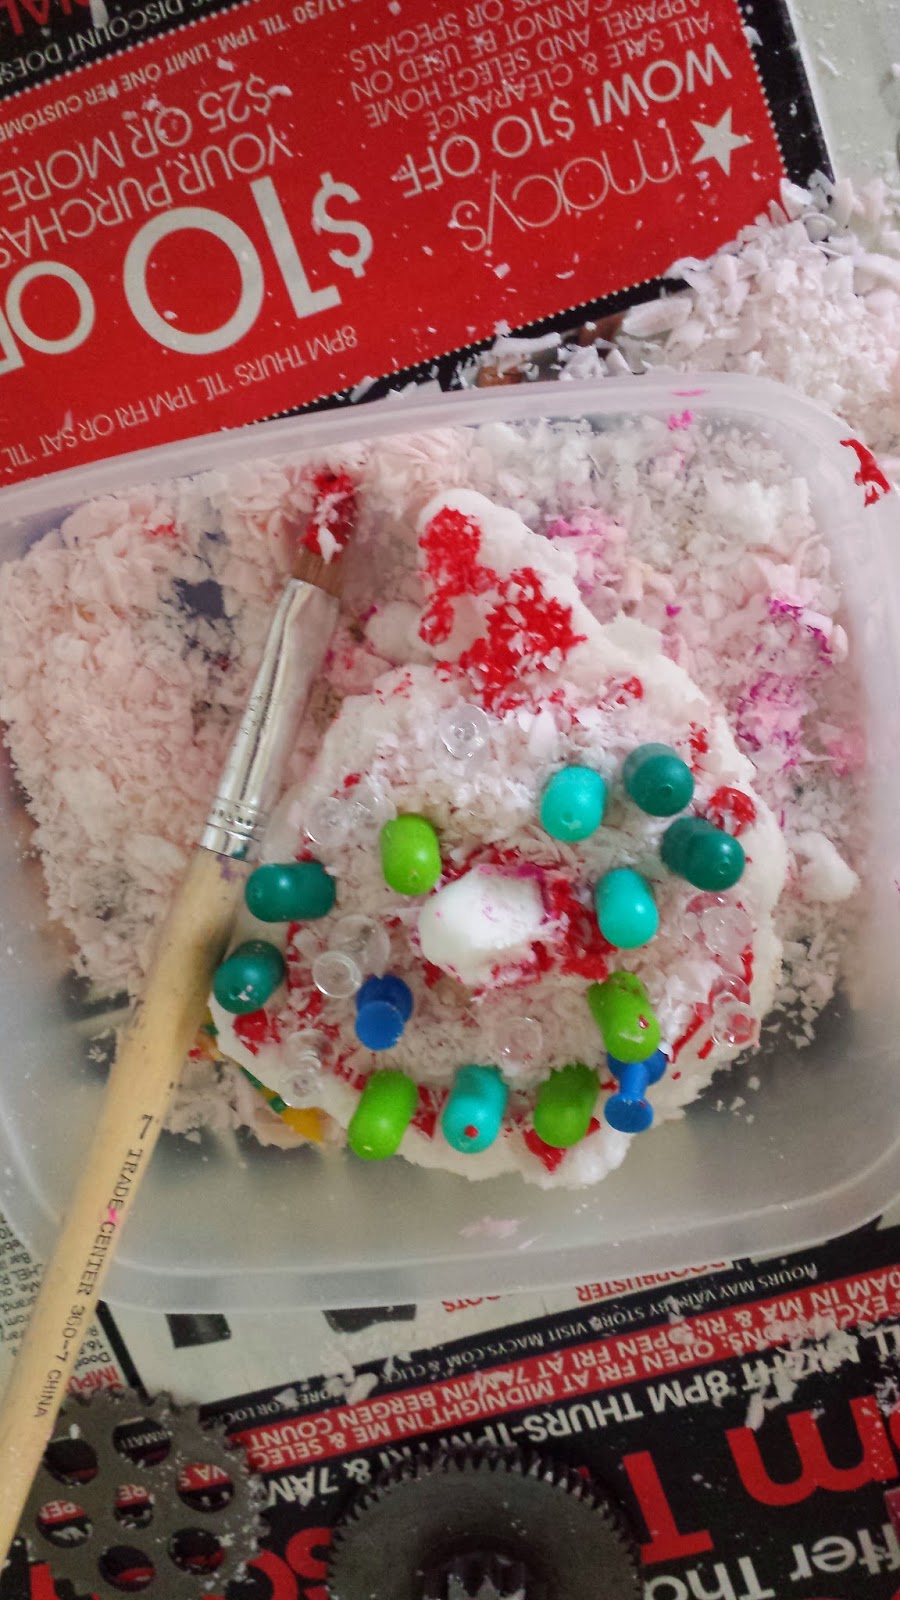
6th change: some paint got scraped off and I added pins to the piece. I also took away the candle because half of it melted in the soap because it was still a bit hot from the 2nd change which was the microwave. 

7th change: I rolled the whole thing in a ball because of the mess that it was causing and it felt like a silly-puddy or clay. And I took away the pins.

8th change: This is the final change to the soap, I added colorful sprinkles to the rolled up ball that felt like dough. Now it looks like a donut hole or a bouncy ball and feels like a silly-puddy.

Soap carving turtles in-progress


This is the first soap carving in progress. I carved out a turtle, but the only problem I had on the first one was that the shell wasn't as round. But I'll fix that as the second one is being carved.


This is my second soap carving of the turtle in progress. The second picture of it is complete expect for the details. This one turned out better because the legs are skinnier and the shell is more round.